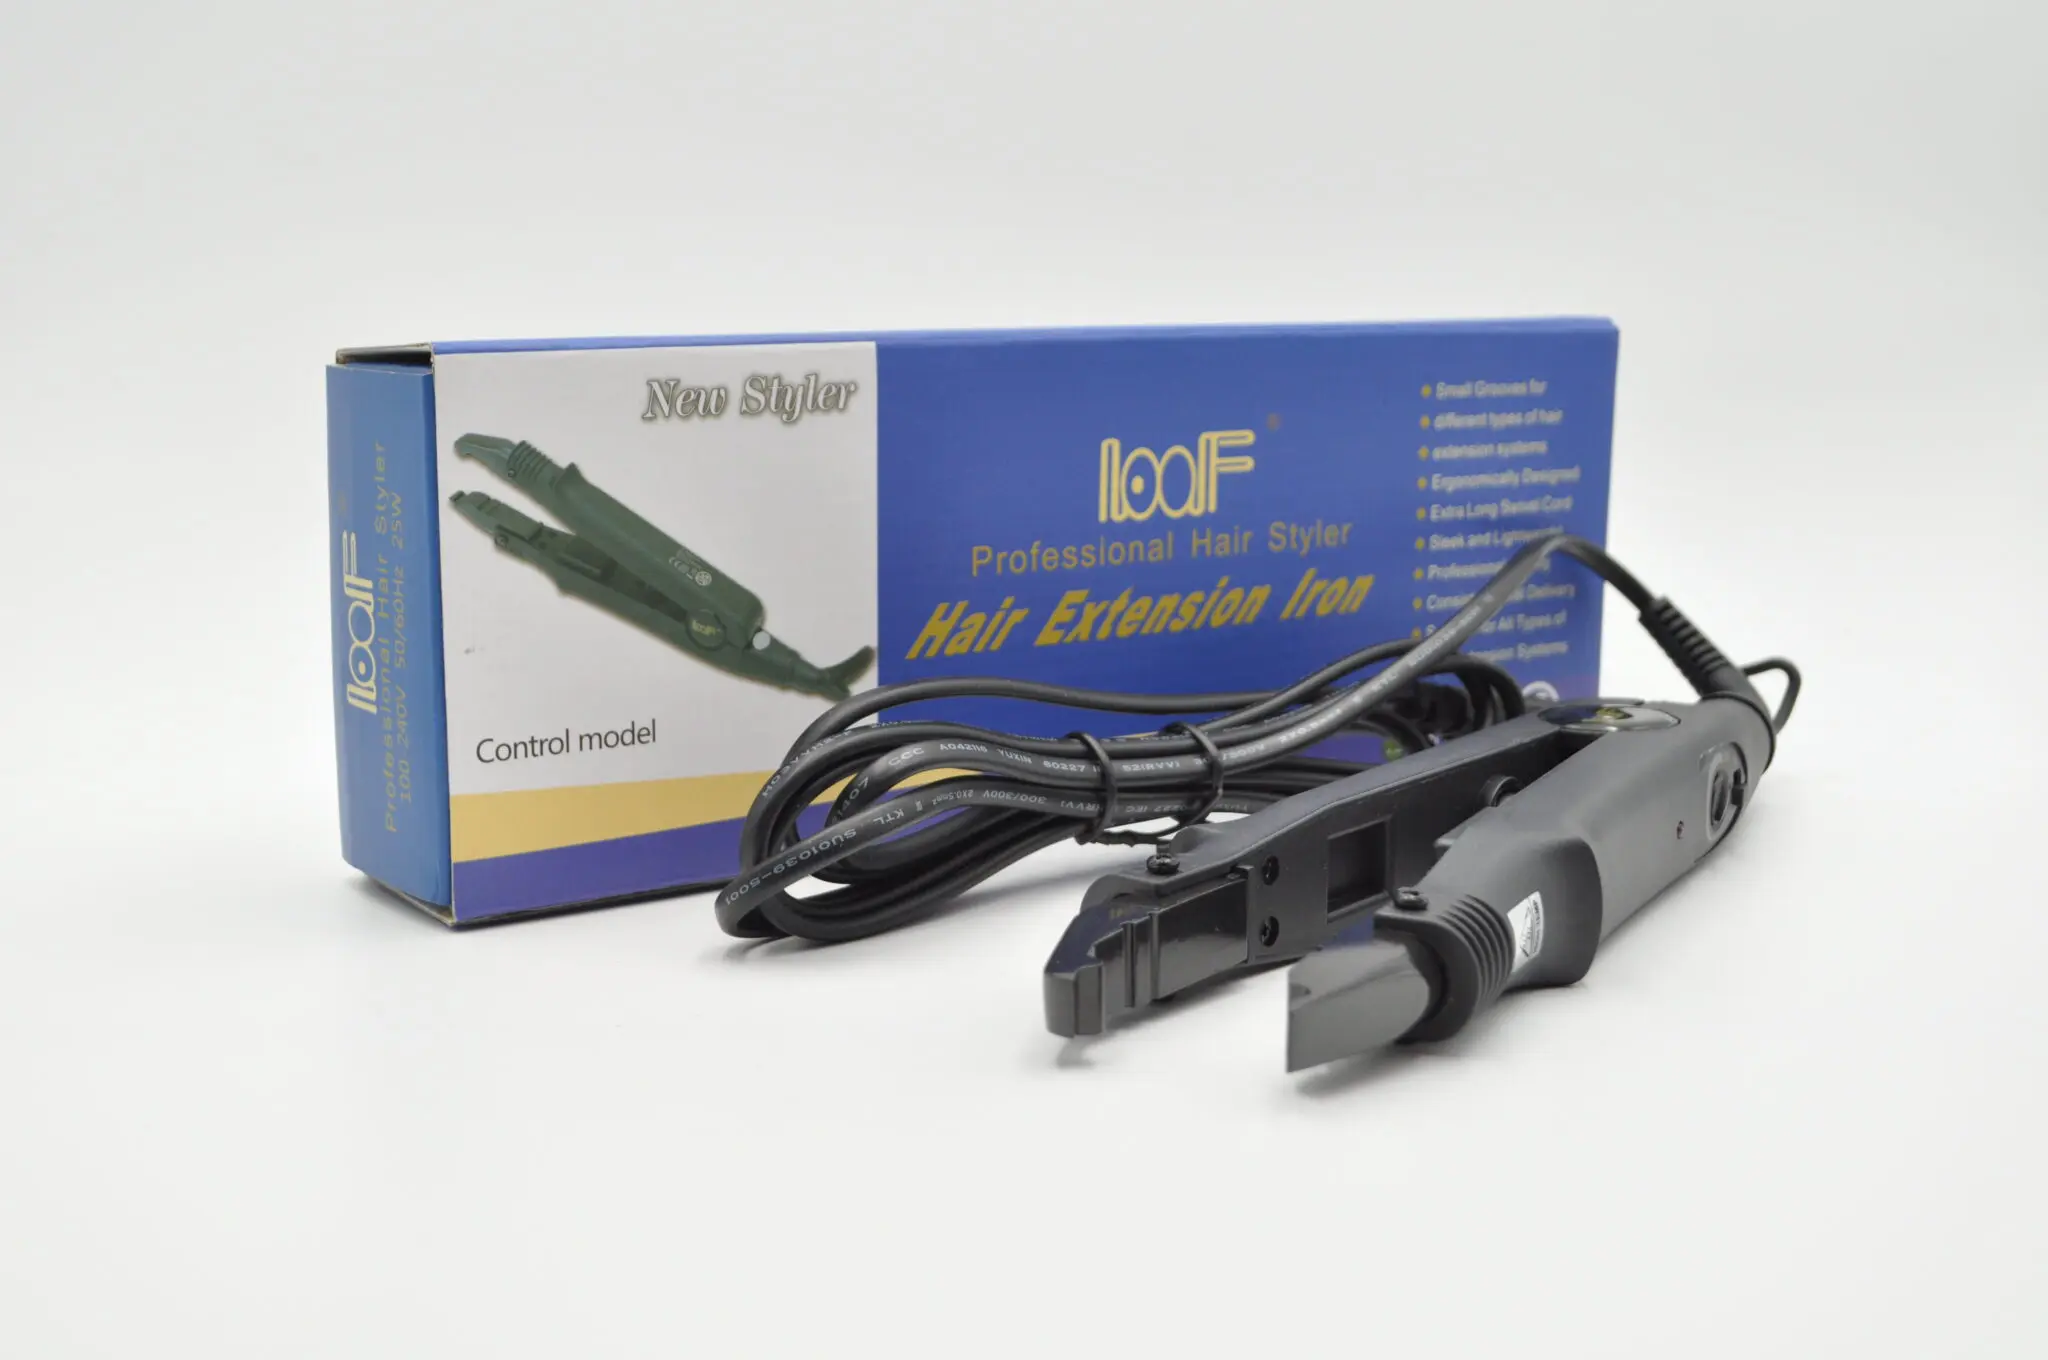
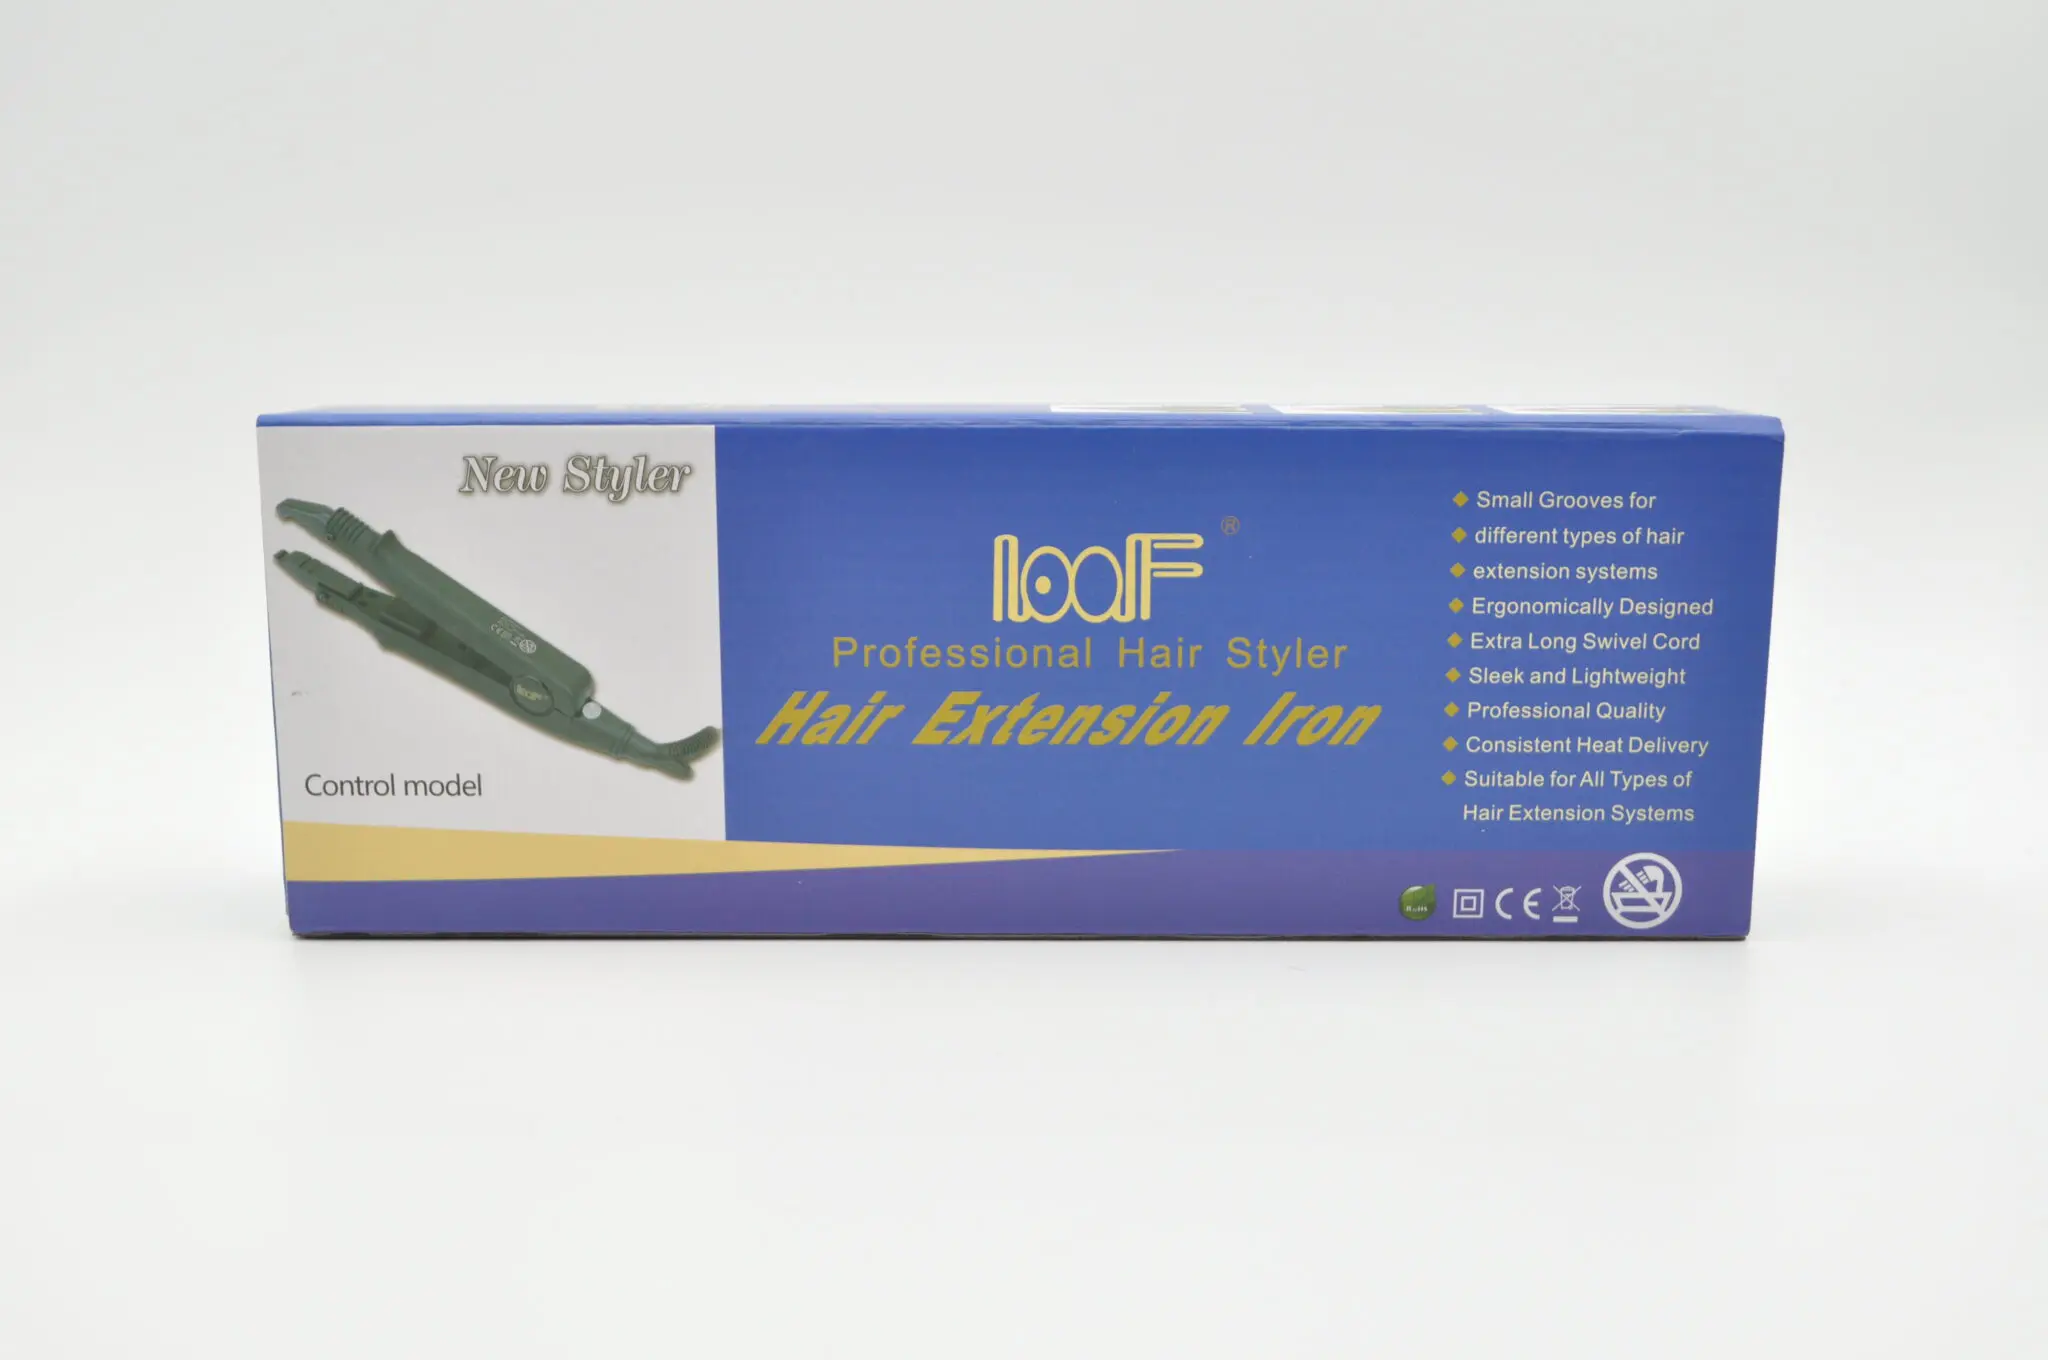
Shop Products for Extensions Keratine Hot Tool

Description

Keratine Hot Tool

Using a keratin hot tool is an essential step when applying keratin bonds to hair extensions. Here’s a step-by-step guide to help you properly use a keratin hot tool:

What You’ll Need:

  1. Keratin hot tool (fusion iron) – This tool is specifically designed to melt the keratin bonds.
  2. Hair extensions with keratin tips (keratin pearls or pre-bonded strands).
  3. Sectioning clips – To keep hair separated while applying extensions.
  4. Heat protectant (optional but recommended).

Step-by-Step Instructions:

1. Prepare the Hair

  • Wash and Dry: Start with clean, dry hair. Make sure your natural hair is free of any oils or products, as this helps the keratin bond to adhere better.
  • Section the Hair: Use sectioning clips to divide your hair into manageable parts. It’s usually best to start with the bottom layers and work your way up.

2. Set the Hot Tool to the Right Temperature

  • Adjust the Heat: Most keratin fusion tools have adjustable heat settings. Set the temperature according to the manufacturer’s instructions, typically between 350°F (175°C) to 400°F (200°C). Be cautious not to use too high a temperature as it could burn the hair.

3. Prep the Keratin Extensions

  • Select a Strand: Take a small section of hair (usually 1/4-inch wide) and a keratin-tipped extension.
  • Position the Keratin Tip: Place the keratin tip at the root of the section of hair, where you want the extension to be attached.

4. Apply Heat

  • Clamp the Hot Tool: Hold the fusion iron in place over the keratin tip for about 3-5 seconds. The heat from the tool will melt the keratin bond, allowing the extension to fuse to your natural hair.
  • Press Gently: Once the keratin melts, gently press the keratin together to form a solid bond with your natural hair. Be careful not to apply too much pressure, which could damage the hair or cause discomfort.

5. Repeat for All Strands

  • Continue applying extensions, section by section, until all the keratin bonds are fused into your hair. Be sure to maintain consistency with the bond sizes for a natural, even look.

6. Cool and Check the Bond

  • Let It Cool: Once the keratin is melted and you’ve pressed the bond together, allow it to cool for a few seconds. The keratin will harden and form a secure bond as it cools.
  • Check the Bond: Gently tug on a few extensions to ensure that they’re firmly attached.

7. Finishing Touches

  • Trim and Style: After all the extensions are in, you may want to trim or blend them with your natural hair for a seamless look. You can style your hair as usual, but avoid using excessive heat on the bonds.

Tips:

  • Don’t Overheat: Always keep an eye on the temperature of your tool. Too much heat can burn both your natural hair and the extension.
  • Use a Heat Protectant: If your natural hair is exposed to heat during the process, it’s good practice to apply a heat protectant spray to shield it from potential damage.
  • Professional Application: If you’re new to using keratin tools, it may be beneficial to have a professional stylist apply the extensions, especially if you want to ensure a flawless and long-lasting result.

Keratin bonding with a hot tool, when done properly, can give you a long-lasting, natural look that blends well with your natural hair.

Keratine Hot Tool

€ 66,49 (incl. VAT)

Keratine Hot Tool

In stock

Brand

Hair

Base

Skin

Restricted

SKU: KERATINE HOT TOOL
Category:

Description

Keratine Hot Tool

Using a keratin hot tool is an essential step when applying keratin bonds to hair extensions. Here’s a step-by-step guide to help you properly use a keratin hot tool:

What You’ll Need:

  1. Keratin hot tool (fusion iron) – This tool is specifically designed to melt the keratin bonds.
  2. Hair extensions with keratin tips (keratin pearls or pre-bonded strands).
  3. Sectioning clips – To keep hair separated while applying extensions.
  4. Heat protectant (optional but recommended).

Step-by-Step Instructions:

1. Prepare the Hair

  • Wash and Dry: Start with clean, dry hair. Make sure your natural hair is free of any oils or products, as this helps the keratin bond to adhere better.
  • Section the Hair: Use sectioning clips to divide your hair into manageable parts. It’s usually best to start with the bottom layers and work your way up.

2. Set the Hot Tool to the Right Temperature

  • Adjust the Heat: Most keratin fusion tools have adjustable heat settings. Set the temperature according to the manufacturer’s instructions, typically between 350°F (175°C) to 400°F (200°C). Be cautious not to use too high a temperature as it could burn the hair.

3. Prep the Keratin Extensions

  • Select a Strand: Take a small section of hair (usually 1/4-inch wide) and a keratin-tipped extension.
  • Position the Keratin Tip: Place the keratin tip at the root of the section of hair, where you want the extension to be attached.

4. Apply Heat

  • Clamp the Hot Tool: Hold the fusion iron in place over the keratin tip for about 3-5 seconds. The heat from the tool will melt the keratin bond, allowing the extension to fuse to your natural hair.
  • Press Gently: Once the keratin melts, gently press the keratin together to form a solid bond with your natural hair. Be careful not to apply too much pressure, which could damage the hair or cause discomfort.

5. Repeat for All Strands

  • Continue applying extensions, section by section, until all the keratin bonds are fused into your hair. Be sure to maintain consistency with the bond sizes for a natural, even look.

6. Cool and Check the Bond

  • Let It Cool: Once the keratin is melted and you’ve pressed the bond together, allow it to cool for a few seconds. The keratin will harden and form a secure bond as it cools.
  • Check the Bond: Gently tug on a few extensions to ensure that they’re firmly attached.

7. Finishing Touches

  • Trim and Style: After all the extensions are in, you may want to trim or blend them with your natural hair for a seamless look. You can style your hair as usual, but avoid using excessive heat on the bonds.

Tips:

  • Don’t Overheat: Always keep an eye on the temperature of your tool. Too much heat can burn both your natural hair and the extension.
  • Use a Heat Protectant: If your natural hair is exposed to heat during the process, it’s good practice to apply a heat protectant spray to shield it from potential damage.
  • Professional Application: If you’re new to using keratin tools, it may be beneficial to have a professional stylist apply the extensions, especially if you want to ensure a flawless and long-lasting result.

Keratin bonding with a hot tool, when done properly, can give you a long-lasting, natural look that blends well with your natural hair.

Newsletter

Great hair and great deals? We’ve got both! Sign up for our newsletter, and we’ll drop the best promos, tips, and a sprinkle of fabulous straight into your inbox. No bad hair days allowed!

"*" indicates required fields